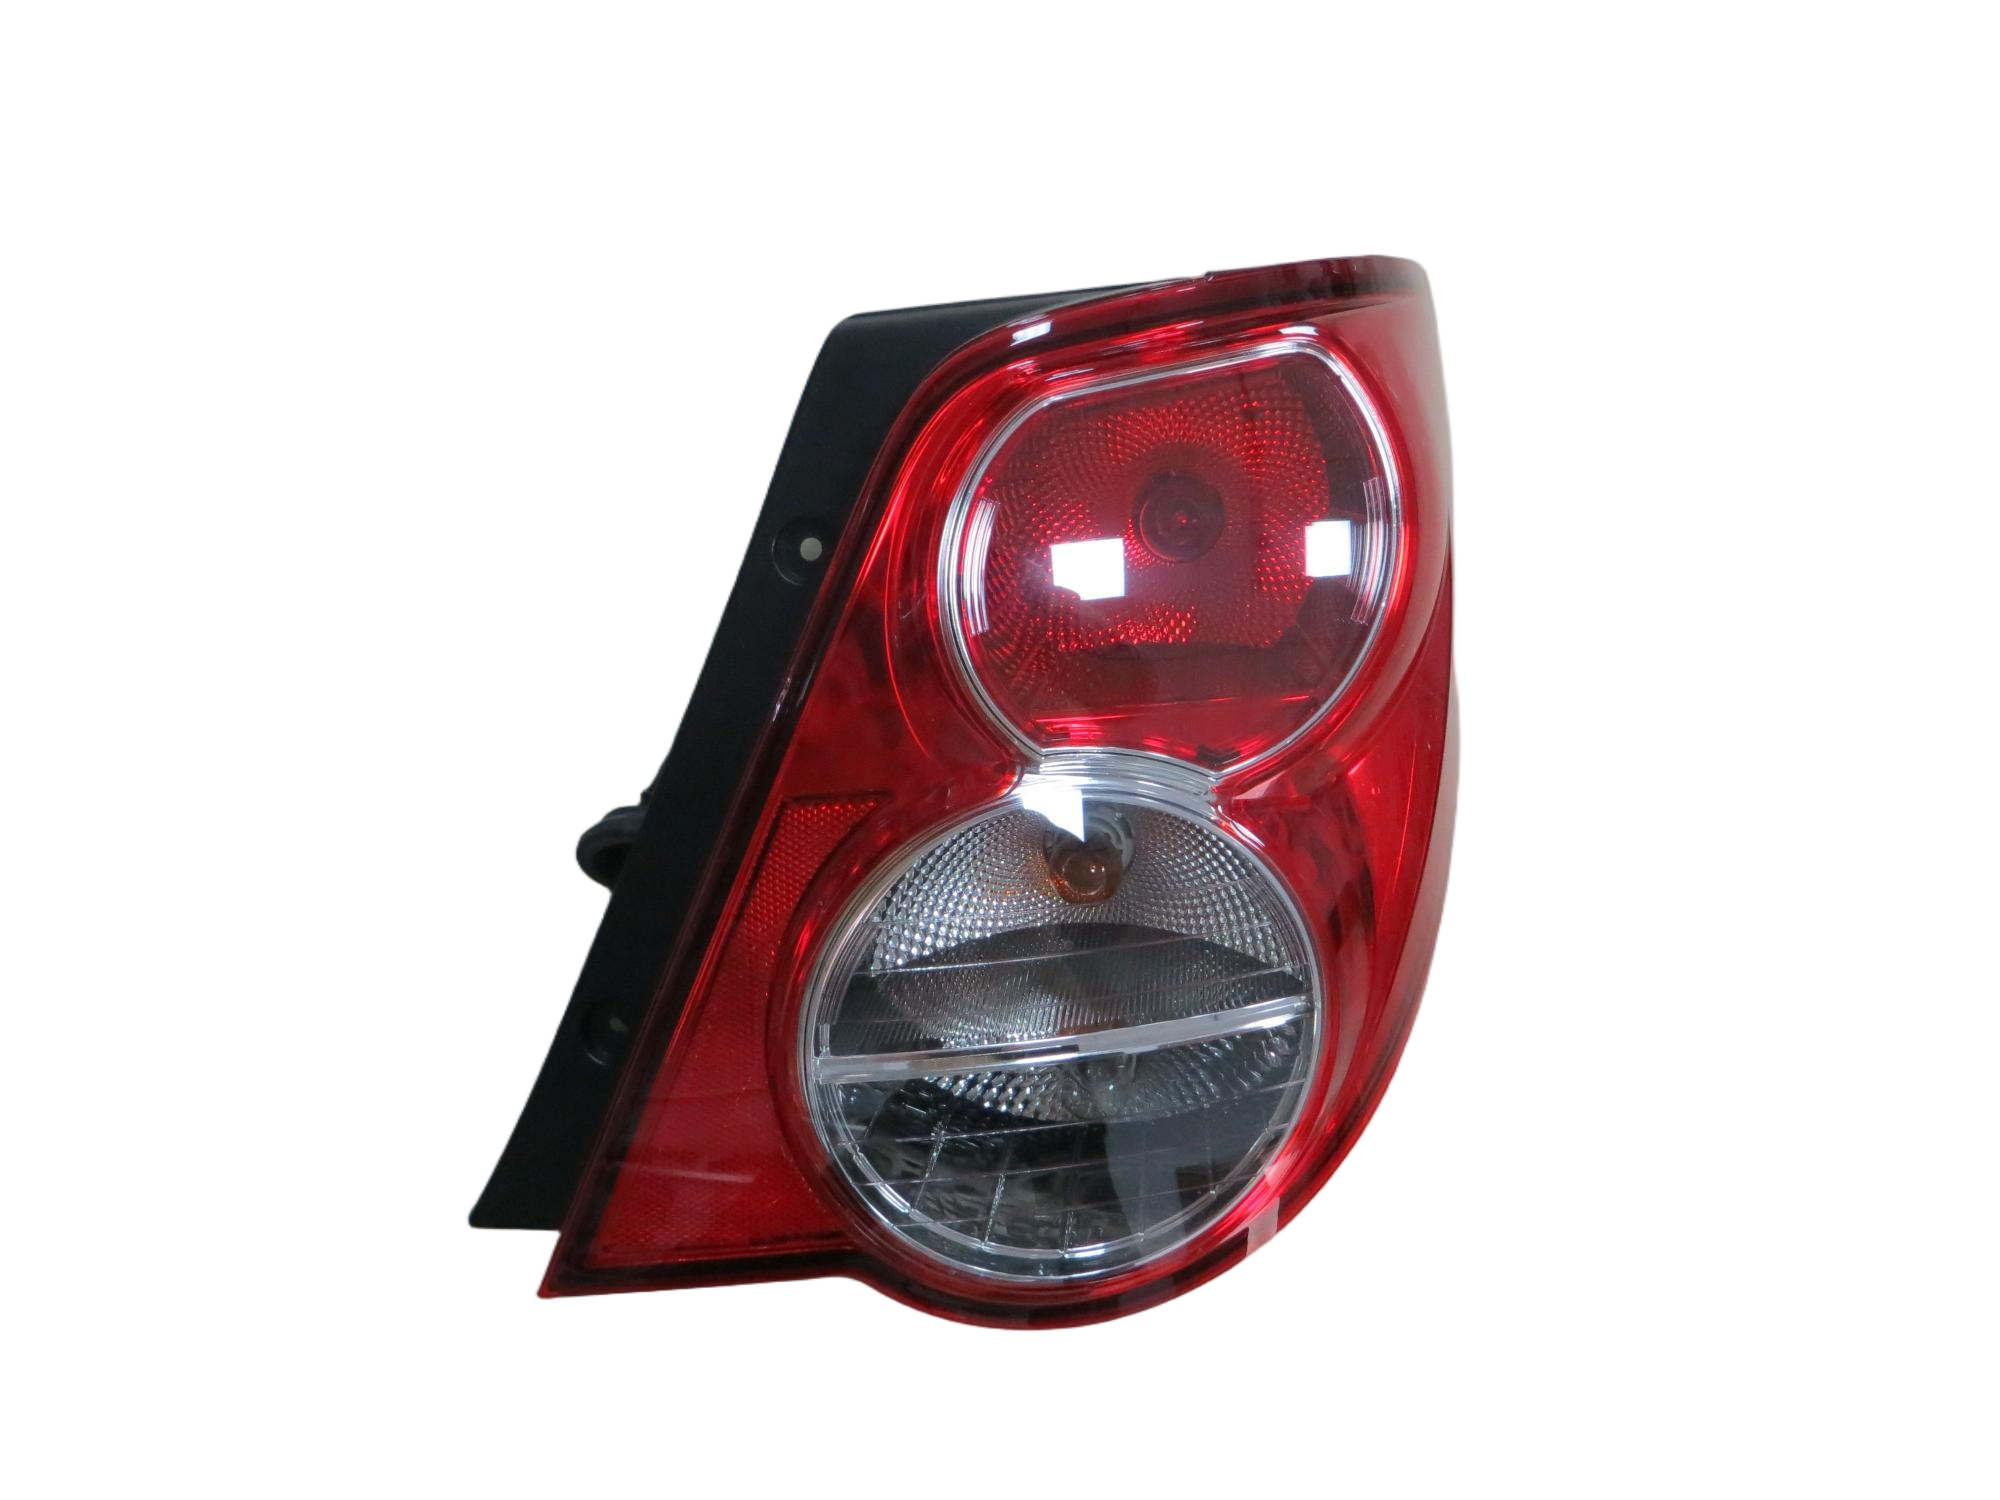
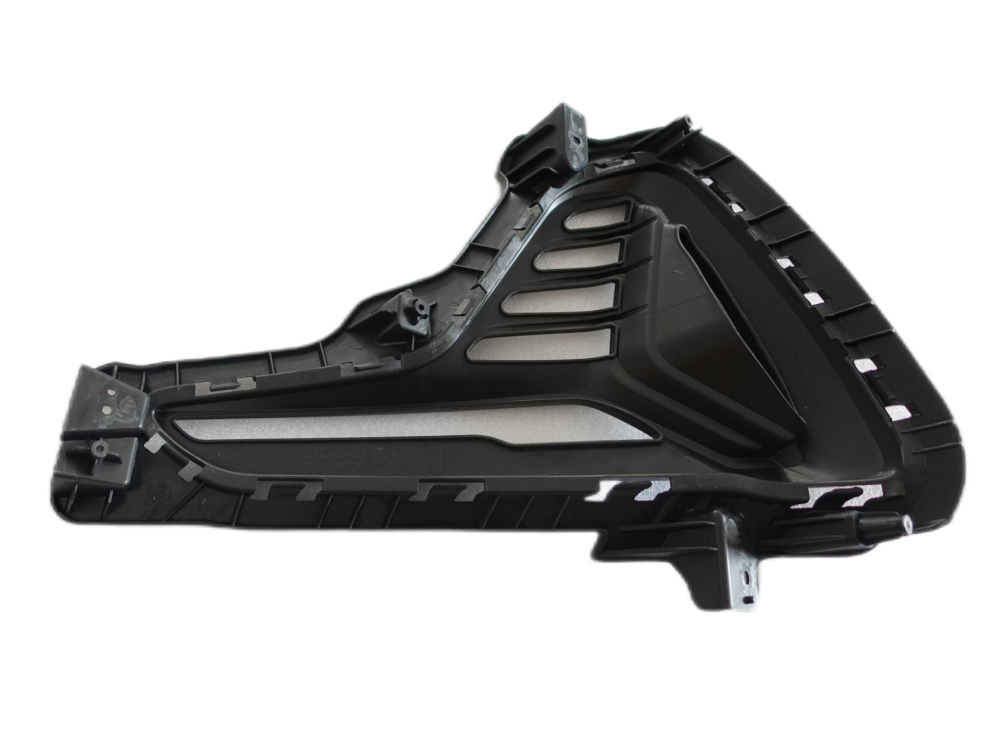
فهم الأساسيات الخاصة بأنظمة مصابيح الضباب في السيارات
التثبيت أضواء الضباب على مركبتك يمكن أن يحسن بشكل كبير من السلامة والمظهر الجمالي. عند القيادة في ظروف طقس صعبة، توفر هذه المصابيح المتخصصة رؤية أفضل وتساعد السائقين الآخرين على رؤية مركبتك بوضوح. قبل الشروع في عملية التركيب، من الضروري فهم ما هي مصابيح الضباب ولماذا تُعد إضافة قيمة لأي مركبة.
مصابيح الضباب هي أنظمة إضاءة تكميلية يتم تركيبها في الجزء السفلي من المركبة، عادةً أسفل المصابيح الأمامية. يتميز تصميمها الفريد بإصدار شعاع واسع ومسطح يضيء سطح الطريق دون أن ينعكس عن الضباب أو الثلج أو المطر. يجعل هذا الموقع الاستراتيجي والنمط المحدد للضوء منها فعالة بشكل خاص في الظروف الجوية الصعبة التي قد تتسبب فيها المصابيح الأمامية القياسية في وهج.
الأدوات والمعدات الأساسية لعملية التركيب
الأدوات المطلوبة للتركيب الاحترافي
يبدأ تركيب مصابيح الضباب بنجاح بالحصول على الأدوات المناسبة تحت تصرفك. ستحتاج إلى طقم رؤوس ومفاتيح ربط، ومقصات تجريد الأسلاك وأدوات التكميم، ولصاقة كهربائية، وجهاز اختبار الجهد الكهربائي، بالإضافة إلى أدوات يدوية أساسية مثل مفك البراغي والكماشة. علاوةً على ذلك، فإن توفر إضاءة عمل مناسبة ومعدات سلامة مثل القفازات وواقي العين أمر بالغ الأهمية لضمان عملية تركيب آمنة.
فكّر في شراء أدوات متخصصة لإزالة زخارف السيارات لمنع تلف ألواح هيكل سيارتك وأغطية المصد أثناء التركيب. صُممت هذه الأدوات البلاستيكية خصيصًا لفصل المشابك وأدوات التثبيت بأمان دون خدش أو إتلاف الأسطح.
اختيار المكونات ذات الجودة العالية
تعتمد جودة تركيب مصباح الضباب بشكل كبير على المكونات التي تختارها. اختر مجموعة مصابيح ضباب متوافقة مع ماركة وموديل سيارتك. ابحث عن مصابيح معتمدة من قِبل إدارة النقل البري (DOT) ولها تصنيفات مناسبة لمقاومة الماء ومواد هيكل متينة. يجب أن يكون كابل التوصيل الكهربائي من العيار المناسب وأن يشمل ريلاي ومفتاحًا للتكامل الكهربائي السليم.
لا تتجاهل أهمية دعائم التثبيت والأجهزة عالية الجودة. وعلى الرغم من أن الدعائم العامة قد تبدو أقل تكلفة، إلا أن حلول التثبيت الخاصة بالسيارة غالبًا ما توفر تركيبًا أفضل ومظهرًا نهائيًا أكثر احترافية.

التخطيط والإعداد قبل التركيب
تقييم السيارة وموقع التثبيت
قبل البدء في تركيب مصابيح الضباب، قم بفحص سيارتك بدقة لتحديد المواقع المثلى للتثبيت. تحتوي معظم السيارات على مناطق مخصصة أو نقاط تثبيت موجودة مسبقًا لمصابيح الضباب في المصد الأمامي أو الواجهة. تحقق من دليل سيارتك للحصول على توصيات الشركة المصنعة وأي إرشادات تركيب محددة.
خصص وقتًا للتخطيط لمسار الأسلاك من البطارية إلى مواقع أضواء الضباب. ابحث عن الحلقات المطاطية أو الفتحات الموجودة مسبقًا التي تمر عبر الجدار الفاصل إذا كنت تقوم بتثبيت مفتاح داخلي. وثّق أي أجزاء من المركبة تحتاج إلى إزالتها أو تعديلها للوصول.
احتياطات السلامة وخطوات التحضير
يجب أن تكون السلامة هي الشاغل الأول أثناء تركيب أضواء الضباب. قم بفصل بطارية المركبة قبل البدء بأي عمل كهربائي لمنع حدوث دوائر قصيرة. تأكد من أن مكان العمل جيد الإضاءة ولديك مساحة كافية للحركة حول المركبة. إذا احتجت إلى رفع المركبة، استخدم حوامل الرافعة المناسبة ولا تعتمد فقط على الرافعة.
قم بإعداد مكان عمل نظيف ومنظم وفرّش جميع الأدوات والمكونات قبل البدء. يساعدك هذا التحضير في منع فقدان الأجزاء ويضمن توفر كل ما تحتاجه لإكمال التركيب دون انقطاع.
عملية التركيب خطوة بخطوة
تثبيت مصابيح الضباب
ابدأ تركيب أضواء الضباب عن طريق تثبيت الأضواء في المواقع المخصصة لها. إذا كان لديك نقاط تثبيت موجودة مسبقًا على مركبتك، فقم بإزالة أي أغطية أو لوحات فارغة. قم بوضع الأضواء وتثبيتها مؤقتًا للتحقق من المحاذاة الصحيحة قبل الشد النهائي. تأكد من أن الأضواء مستوية وموجهة وفقًا للمواصفات التي حددها الصانع.
ولعل الاهتمام بالاتجاه الخاص بالأضواء القابلة للتعديل أمرًا بالغ الأهمية، حيث إن التوجيه الصحيح ضروري لتحقيق الأداء الأمثل والامتثال للوائح القانونية. ينبغي عادةً توجيه معظم أضواء الضباب بشكل منخفض قليلاً وباتجاه الحواف الخارجية للطريق لتعظيم فعاليتها.
التوصيلات الكهربائية والأسلاك
يتطلب التركيب الكهربائي اهتمامًا دقيقًا بالتفاصيل. ابدأ بتمرير حزمة الأسلاك من موقع البطارية، وثبتها على الإطار أو هيكل المركبة باستخدام المشابك أو الروابط المناسبة. ابقِ الأسلاك بعيدًا عن الأسطح الساخنة والأجزاء المتحركة والحافات الحادة التي قد تتسبب في تلفها.
قم بتثبيت المرحل في موقع محمي داخل حجرة المحرك، وتأكد من تثبيته بشكل آمن وحمايته من الماء والأتربة. وصّل المفتاح وفقًا لمخطط الأسلاك المقدم، مع الحرص على تأريض جميع المكونات بشكل صحيح. استخدم وصلات مناسبة وأنابيب انكماش حراري لحماية التوصيلات الكهربائية.
الاختبار والتعديلات
إجراءات الاختبار الأولية
بعد الانتهاء من تركيب أضواء الضباب، قم بإعادة توصيل البطارية وإجراء اختبار أولي. تحقق من جميع التوصيلات للتأكد من تثبيتها بشكل جيد، وتأكد من أن المفتاح يعمل بشكل صحيح. اختبر الأضواء في كل من وضعية الشعاع المنخفض والعالي للتأكد من عملها كما هو مطلوب وعدم تداخلها مع إضاءة المركبة الأخرى.
استمع إلى أي أصوات أو اهتزازات غير طبيعية قد تشير إلى وجود أجزاء تثبيت فضفاضة. تأكد من أن جميع التوصيلات الكهربائية محكمة ومحمية من العوامل الجوية.
الضبط الدقيق والمحاذاة
المحاذاة السليمة أمر بالغ الأهمية لتحقيق الأداء الأمثل والسلامة. قم بوقوف مركبتك على سطح مستوٍ تواجه جدارًا أو باب مرآب على بعد حوالي 25 قدمًا. حدّد ارتفاع منتصف أضواء الضباب على الجدار وقم بتعديلها بحيث يكون نمط الحزمة الضوئية أسفل هذه العلامة قليلًا.
قم بضبط الاتجاه الأفقي بدقة لضمان تغطية متساوية لسطح الطريق. تحتوي العديد من أضواء الضباب على مسامير أو براغي ضبط مخصصة لهذا الغرض. خذ المركبة في رحلة تجريبية في ظروف مختلفة للتحقق من فعالية التركيب.
الأسئلة الشائعة
كم يستغرق تركيب أضواء الضباب عادةً؟
يستغرق تركيب أضواء الضباب بالكامل عادةً ما بين 2 إلى 4 ساعات للمبتدئين. قد يختلف هذا الإطار الزمني حسب تعقيد مركبتك ومستوى خبرتك في الأعمال الكهربائية للسيارات. وعادةً ما يستغرق التركيب الاحترافي من ساعة إلى ساعتين.
ما هي المتطلبات القانونية لموقع أضواء الضباب؟
يجب تركيب أضواء الضباب أسفل مصابيح السيارة الأمامية وضبط اتجاهها بشكل صحيح لتجنب إبهار حركة المرور القادمة. تختلف اللوائح المحددة حسب المنطقة، ولكن بشكل عام، يجب تركيبها على ارتفاع لا يقل عن 10 بوصات فوق سطح الأرض، وتكون في وضع متماثل على جانبي السيارة.
هل يمكنني تركيب أضواء الضباب دون الاستعانة بمساعدة احترافية؟
نعم، يمكن تنفيذ تركيب أضواء الضباب كمشروع ذاتي (DIY) إذا كنت تمتلك معرفة أساسية بالسيارات والأدوات المناسبة. ومع ذلك، إذا لم تكن متأكدًا من العمل الكهربائي أو من المتطلبات الخاصة بسيارتك، يُنصح باستشارة متخصص لضمان التركيب الآمن والصحيح.


